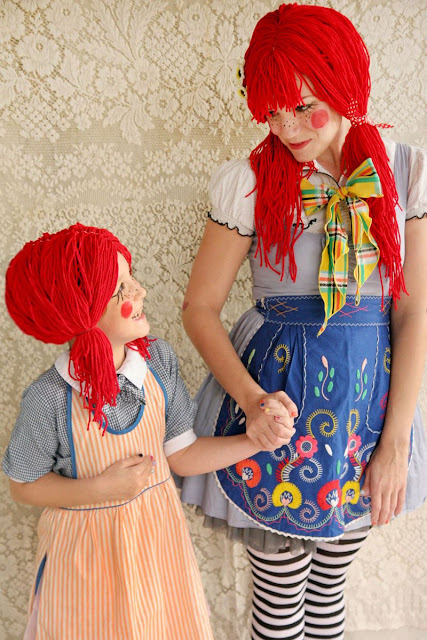
You'll need: Yarn in the color of your choosing (we used red) cut to desired length (mine was 40 inches), felt strips (10 x 2 inches), scissors, embroidery floss or thread, 2 hair combs per wig.
Here's how to make a simple yarn wig with a middle part:
Steps 1-3: Gathering your yarn together, find the center. Using your felt strip as backing, begin sewing small sections with a backstitch. The area you are stitching together will end up being your center part.
Steps 4-6: Continue sewing on small sections until you reach the end of your felt strip. Once it is
completed, flip it over. Starting at the same spot you began sewing on the yarn, stitch a comb onto the "front" of your wig. After you've gotten the comb on, trim the ends of your wig and try it on!
Optional bangs: Taking a shorter length of yarn, find the front/center of your wig and stitch that on in one chunk. Just like real hair, you will need to trim them to the desired length.
To
complete this super cute look, style the wig with pigtails, braids, bows and flowers! Wear a fun outfit and be sure to OVER-accessorize by adding bows,
aprons, tights and cute details. Enjoy...
created for us last year. It's amazing! ♥
Katie made a version with wings for Hope that she wore to our
grand opening party last Autumn. I love the feathers in her hair!
Have you decided what you're going to be for Halloween? xo. elsie
http://www.abeautifulmess.com/2011/10/rag-doll-halloween-costume-diy.html


 5:06 PM


 Posted in:


0 коммент.:
Post a Comment