

 6:13 PM

Polymer clay tutorial
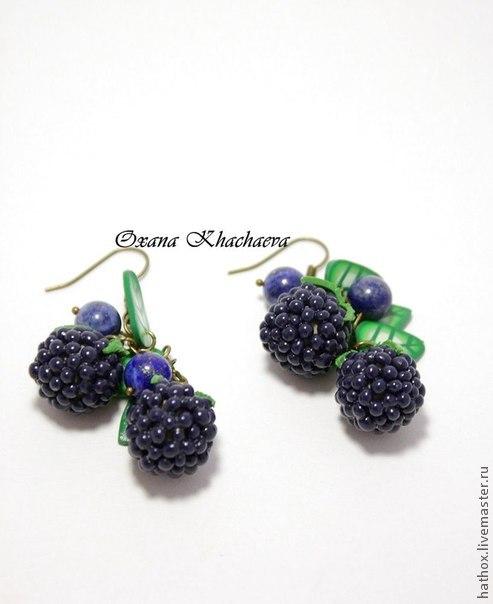
Blackberries earrings from polymer clay
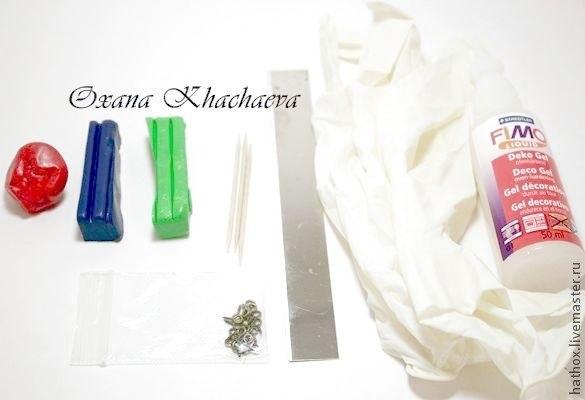
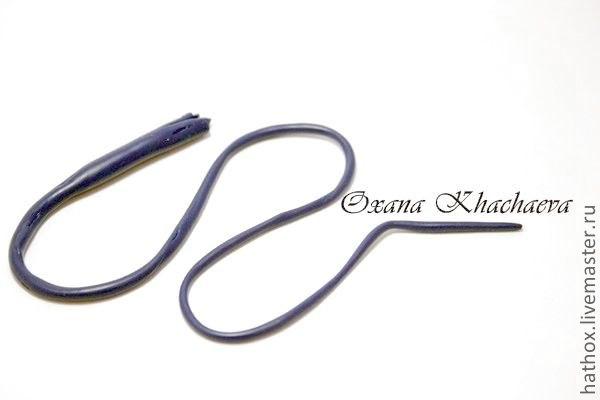
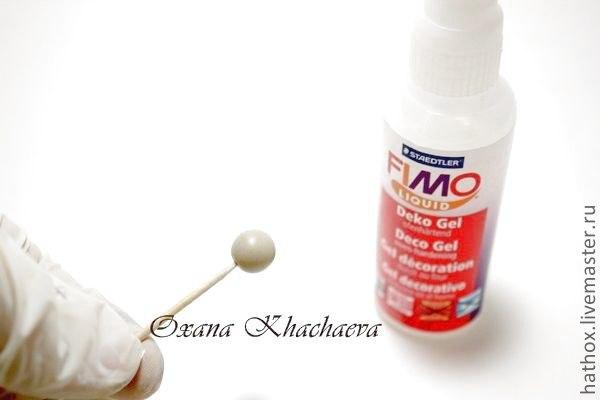
1. We will need clay in three colors: red, dark blue, green, sharp blade, toothpick, gel Fimo (optional), pins, gloves. I work with polymer clay Fimo, pins can be purchased at any hardware store or at internet jewelry store.

polymer clay jewelry
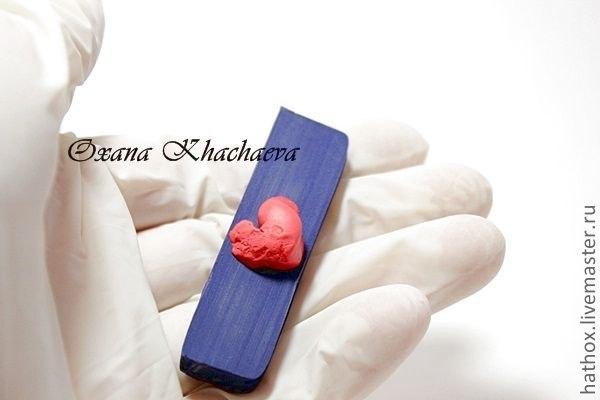
2. In a piece of blue plastic add a little of red to achieve the desired color.
 polymer clay jewelry
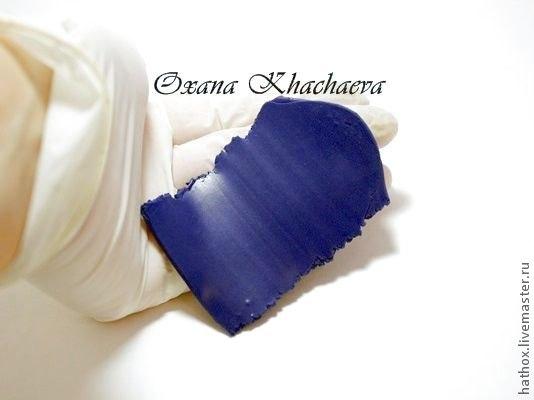
mix well until a uniform color
 polymer clay jewelry
postponing it to the side for a while.
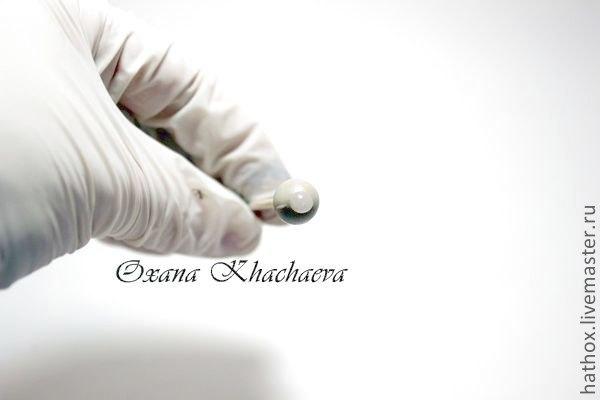
3.The next step is making the basis for our blackberries, for this purpose roll the sausage from the remains of the old clay and then cut into equal parts, you can do it by eye or you can do it with a ruler.
make balls from the cuted parts
 polymer clay jewelry
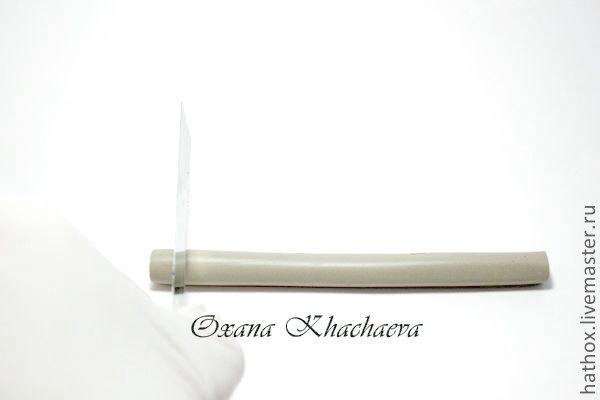
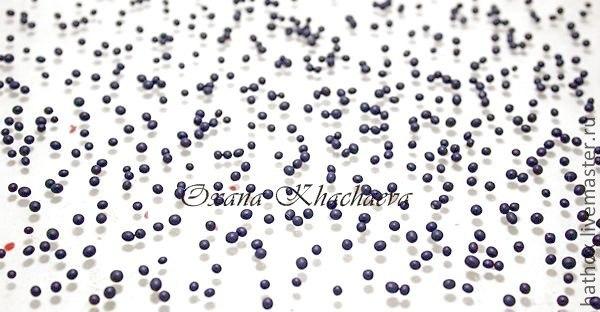
4. The next stage is the longest, we will need to roll up a huge number of small balls. To do this, take blue clay and roll out a thin sausage
cut it into small pieces, an average of 2 mm
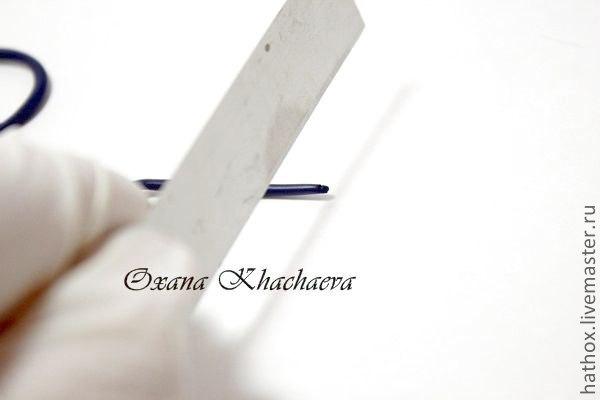

and make little balls
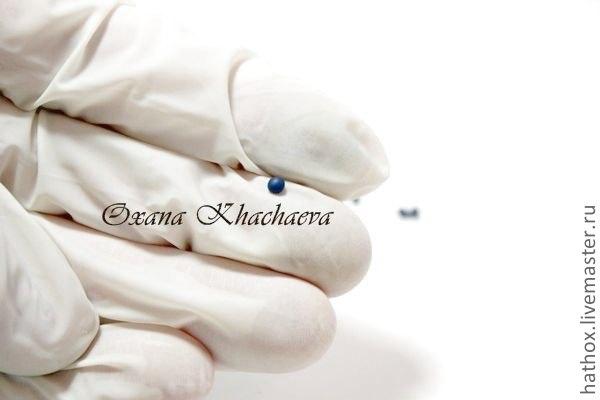
I never considered how many do you actually need, it all depends on how many berries you'd like
5. As soon as our balls are ready, its time to start to make the very berry. For that I take Fimo gel, dripped it to the bead-base and smear it well.
and begin to spread the blue balls start from the center, lightly pressing them.
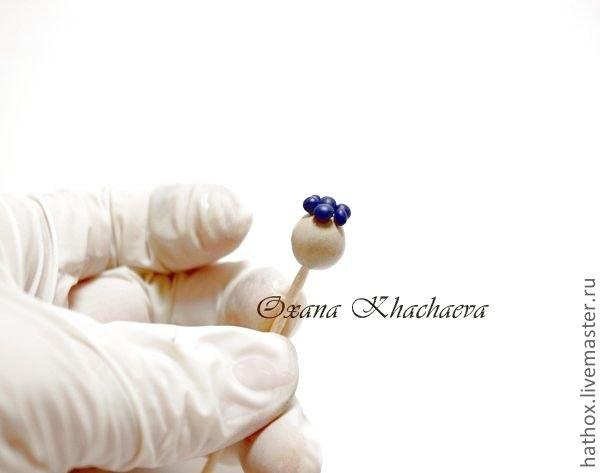
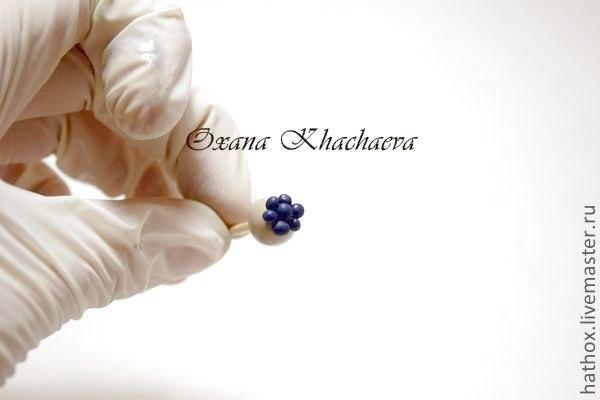
Now we are having our blackberry.
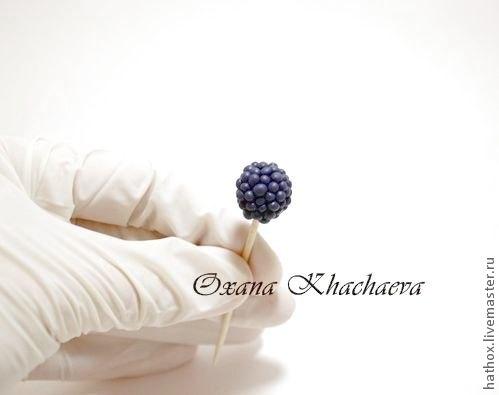
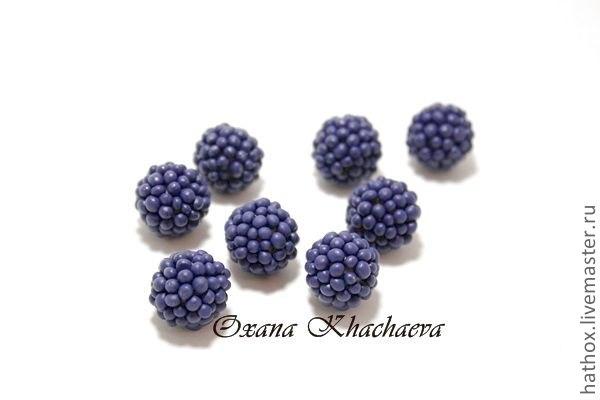
now you can put them aside and start sculpting leaves
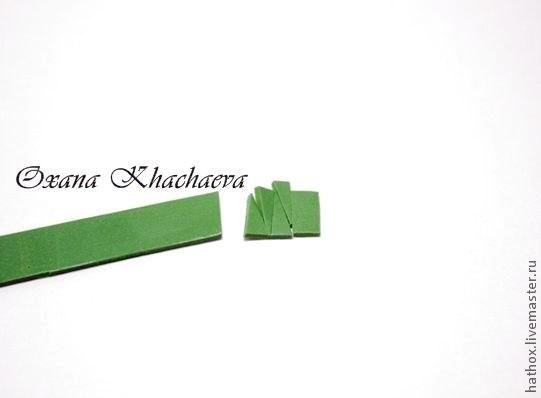
6. Now I will show a simple and fast way to make leaves. Take the green polymer clay and roll out of it thin layer, I do it on pasta machine.
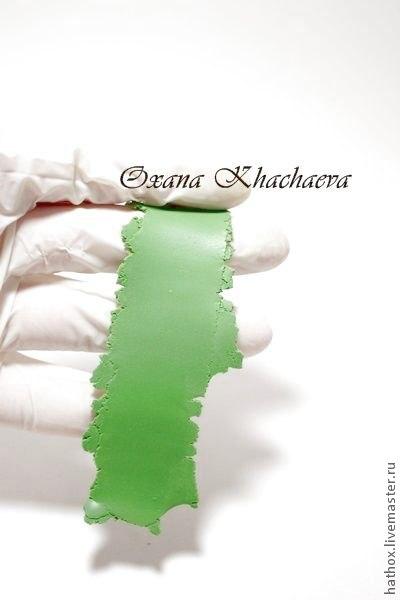
cut a strip width of about 0,7-10 mm
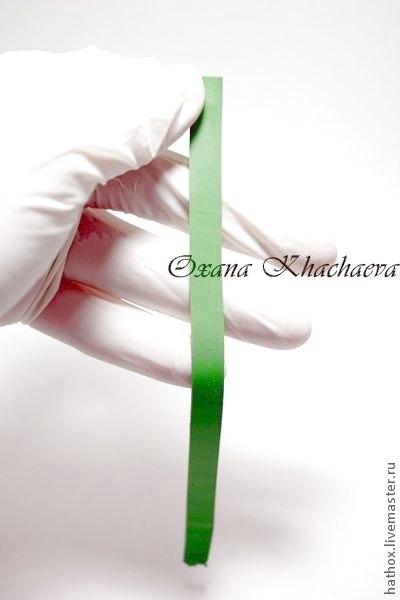
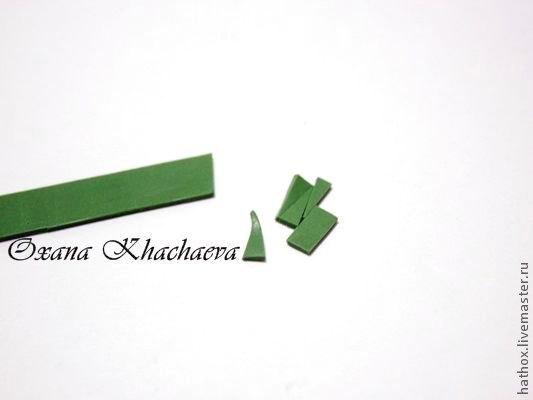
Now cut a small triangle
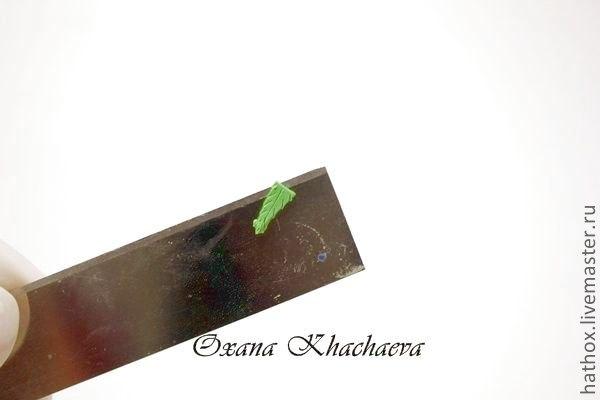
With a sharp blade draws a leaf veins
Applied 4 leaves to the berries and lightly pressed for threading the pin

s soon as you're done send it to bake at temperature which shows on the package of polymer clay.
7. Next we varnish it in 2-3 layers
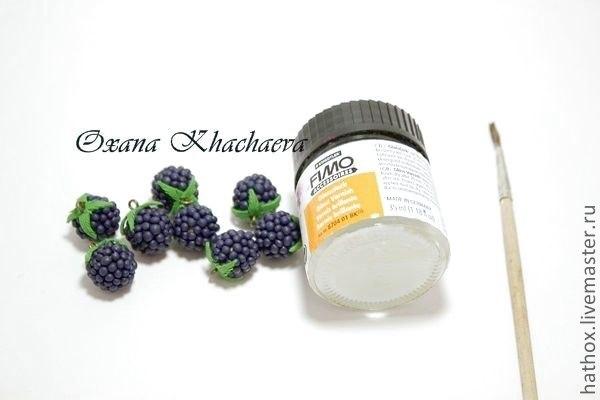
The last stage is to assemble the actual earrings and you can wear your beauty!
Polymer clay tutorial
 Posted in:


0 коммент.:
Post a Comment